Our current main project close to finishing, we're looking at what to work
on next to generate interest and show people what we can do. Huge Space Marine
Chainswords are all very well, but with our current expansion we're keen to
show Cosplay, Lrp and Re-enactment lovers that we can design and make projects
and pieces for them too.
With that in mind, our next project will (of a string of several in the next
few months) will be a Set of Plate-mail Gauntlets that we'll be selling on Ebay
to help advertise in time with uploading of our website. More to come soon,
including the blanks for the gauntlets and the finishing of the chainsword.
H/F
Thursday, 22 March 2012
Saturday, 10 March 2012
Primed and Ready to go
To start the project we knew that one of the hardest parts
of making a Space Marine Chainsword would be painting it. We looked at a series
of materials and finishes, including plastic, mild steel, aluminium etc but
decided that wood would not only be the best to get good detail from but also
be good to work in.
Our main problem then was how to finish the wood to look
like metal, especially the teeth (which have to be a bare metallic colour).
We've worked out a solution involving primers, sealers, sanding, grinding and
paint layers, and we've started applying the process. With the white primer on
it's really coming together...see what you think.
 |
| Length of the Sword with teeth in. |
 |
| Reverse View |
 |
| The teeth aren't stuck in yet - as seen below - so that we can paint them without paitn overlapping onto the sword. That would make it look like it was static and stuck, rather than the teeth seeming mobile. |
 |
| Painting tests. |
 |
| Primed all over, the Space Marine Chainsword looks much better and more cohesive. |
 |
| Engine block as painted - much more like a solid piece, and getting towards the gothic/imperial look we're going for. |
Monday, 5 March 2012
Almost finished construction
As you can see from the below photos, we've almost finished the
construction part of the build. There's a great deal of sanding and
smoothing to do, but it's all coming together. Now we're looking at
finishes; MDF being hard to get a good sharp finish on, we're
experimenting with polishes, wood stains, and primers. Currently we;re
leaning towards a sealer, a primer and a silver (probably car paint)
colour for the teeth and black with red details/yellow and black danger
chevrons. |
| Blade (minus teeth) as it currently stands |
 |
| Eagle pommel before detailing |
 |
| Reverse view of the handle and guard. |

 |
| Close up of the Activation studs. |
Saturday, 3 March 2012
Details part 1
More detailing going in today, with activation studs, dials and circular spinals around the engine block. we've cut the pommel to size ready for the start of the eagle, and champhered off the edges of much of the handle.
Next phase is also making the flat surfaces smooth and sharp, so that the wood actually looks like metal overall, using wood filler and wood glues then sanded off.
Looking at finish we're taking onboard Animatronica and Ollie's ideas and probably going with a black main colour, red blood drop and possible aquila, with the odd oil stain/wear make but not too much battle damage.


You mihgt have noticed we've removed the teeth - this is so that we can look at painting colours and varnishes on the separately from the main blade. Looks more like a Space Marine Power Sword like this....hmm...Idea....
Next phase is also making the flat surfaces smooth and sharp, so that the wood actually looks like metal overall, using wood filler and wood glues then sanded off.
Looking at finish we're taking onboard Animatronica and Ollie's ideas and probably going with a black main colour, red blood drop and possible aquila, with the odd oil stain/wear make but not too much battle damage.
 |
| Pommel ready for eagle detail to the left. |
 |
| Studs and dials below the engine block. |

 |
| Pale white is the wood filler used to create a smooth surface finish. |

 |
| Start of the eagle detail for the pommel and hand guard. we're cutting it down a bit beacuse it was too large for the scale of a Space Marine Hand. |
 |
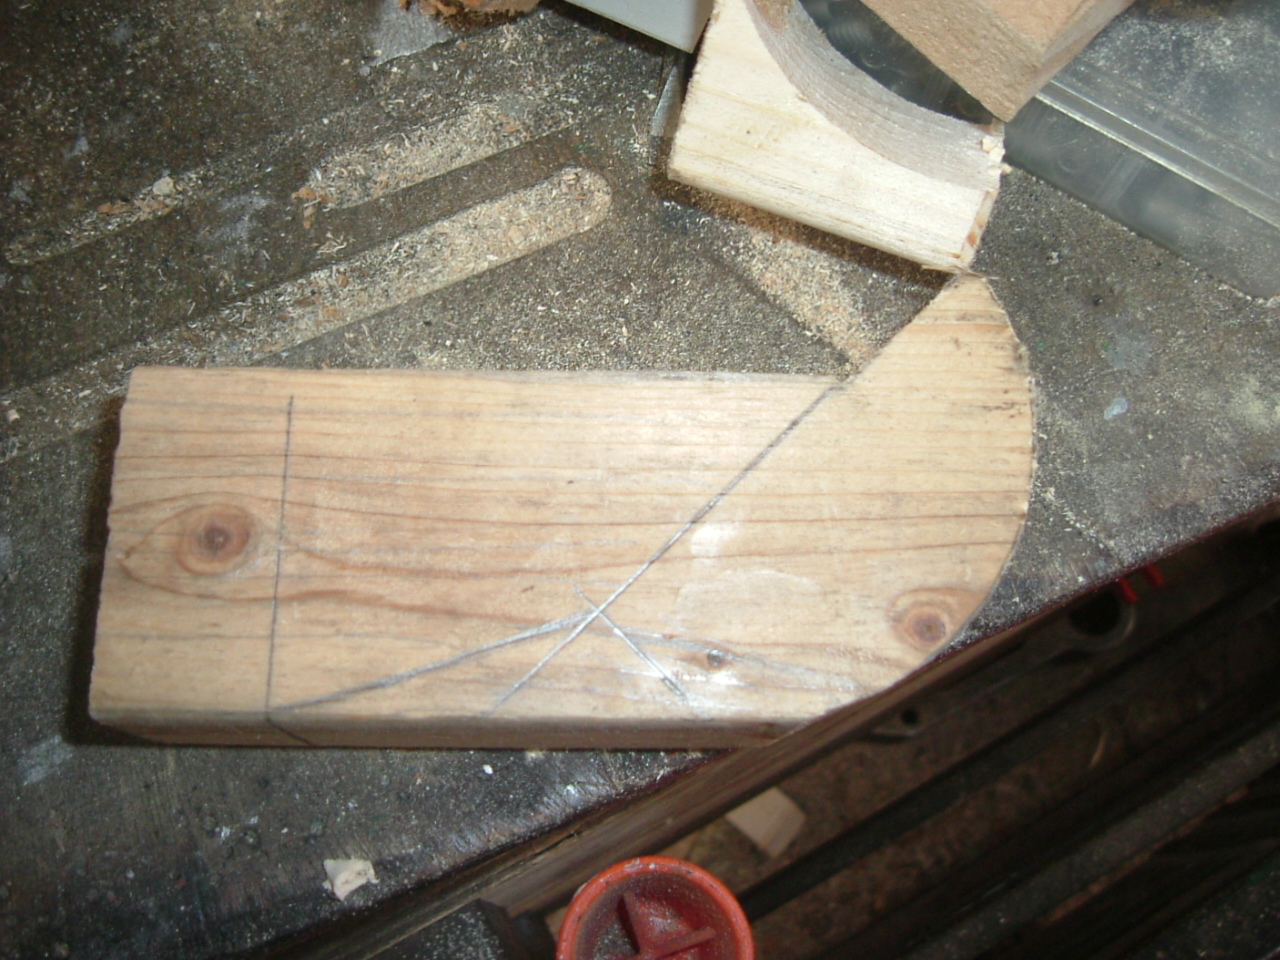
| One of our jigs for cutting. |
 |
| Current look at the Chainsword itself. |
You mihgt have noticed we've removed the teeth - this is so that we can look at painting colours and varnishes on the separately from the main blade. Looks more like a Space Marine Power Sword like this....hmm...Idea....
Subscribe to:
Posts (Atom)